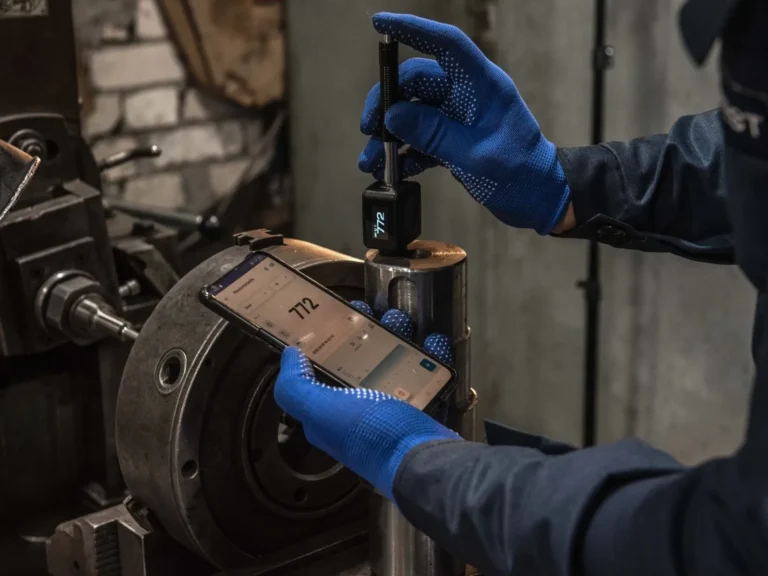
Ultrasonic Testing (UT)
Ultrasonic testing is a volumetric method that evaluates the internal integrity of the material by detecting discontinuities through acoustic waves. This examination is crucial to ensuring material homogeneity and integrity, revealing defects such as solid inclusions, gaseous inclusions, or cracks. Ultrasonic probes generate waves that penetrate the piece, reflecting from internal discontinuities or the bottom. The displayed signals indicate the operator’s presence of any internal defects, allowing for an accurate assessment of material quality.
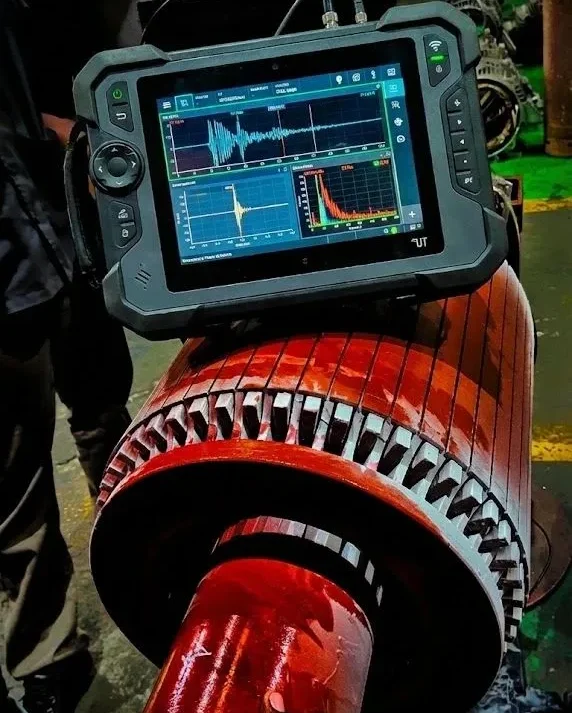
Eddy Current Testing (ET)
Non-destructive testing with eddy currents is applicable to conductive materials to detect surface and subsurface imperfections. The physical principle is based on inducing alternating magnetic fields in the material under examination through coils, generating an electromotive force that causes current circulation. Discontinuity presence, such as a conductivity variation, is detected by the coil as changes in phase and impedance modulus. This technique is used in various sectors, including aviation and industry, for testing tubes during production, automating in-service checks of heat exchangers, and measuring the thickness of paints or protective coatings.
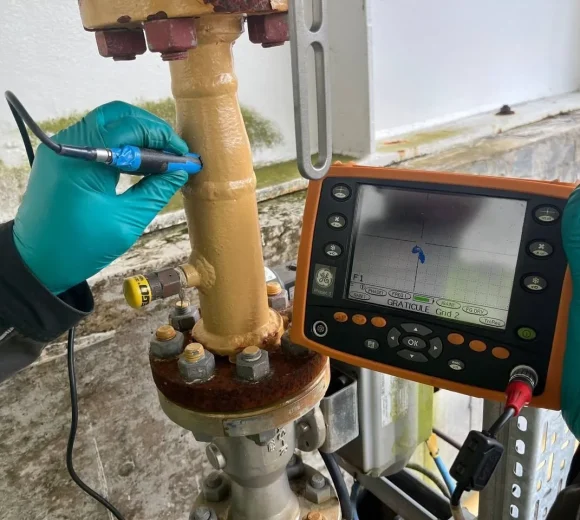
Radiographic Testing (RT)
Radiographic testing is used to verify the integrity of welds and castings, extending to areas such as art and concrete structure inspection. Utilizing high-energy radiation like X-rays or gamma rays capable of penetrating substantial steel thicknesses, the examination produces two-dimensional images with variations in shades of gray on radiographic or digital supports. Variations in gray tones in the images allow for evaluating the component’s integrity.
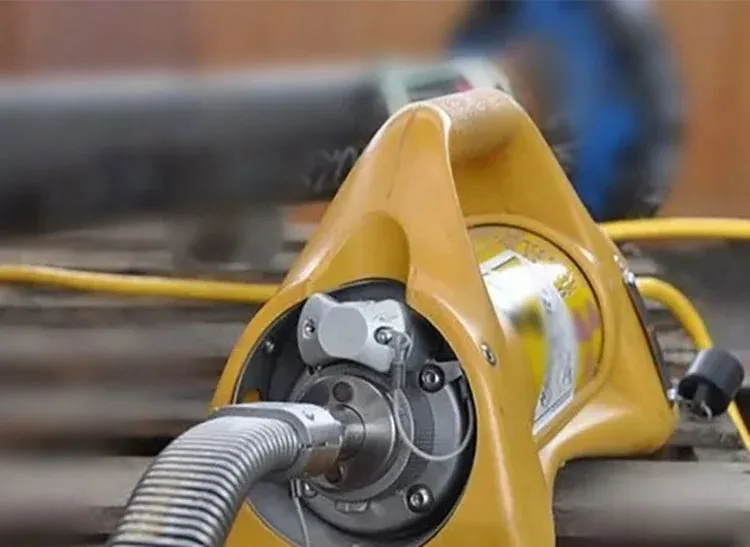
Visual Testing (VT)
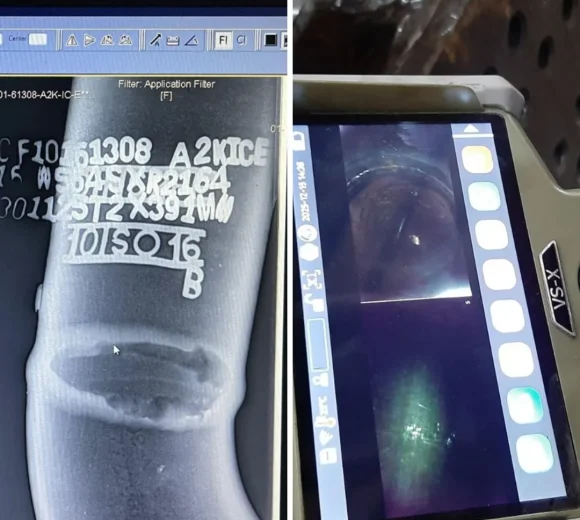
is the most fundamental method of Non-Destructive Testing and serves as your first line of defense in quality assurance. It involves the critical observation of a component’s surface to identify visible discontinuities such as cracks, corrosion, misalignment, and welding defects.
While often overlooked, professional VT requires highly trained, certified inspectors utilizing advanced tools—including remote video borescopes, magnifying systems, and mirrors—to inspect areas inaccessible to the naked eye. As a cost-effective and rapid inspection technique, VT provides immediate data on the condition of your assets. Our services ensure that surface imperfections are detected early, ensuring compliance with industry standards and preventing costly future failures.
Dye Penetrant Testing
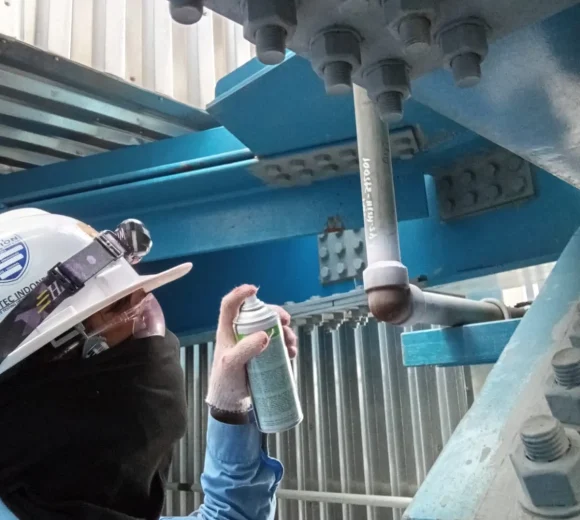
also known as Liquid Penetrant Testing (LPT), is a highly versatile and cost-effective NDT method used to detect surface-breaking discontinuities in virtually any non-porous material—including metals, plastics, and ceramics.
The principle is based on capillary action: a colored or fluorescent liquid penetrant is applied, seeps into fine flaws like cracks and porosity, and is then drawn out by a developer. This process creates a distinct, visible indication of the defect, making it ideal for checking welds, castings, forgings, and critical components in the aerospace and oil & gas industries. DPT offers fast, reliable, and portable inspection for surface integrity assurance.
Ultrasonic Thickness Gauging
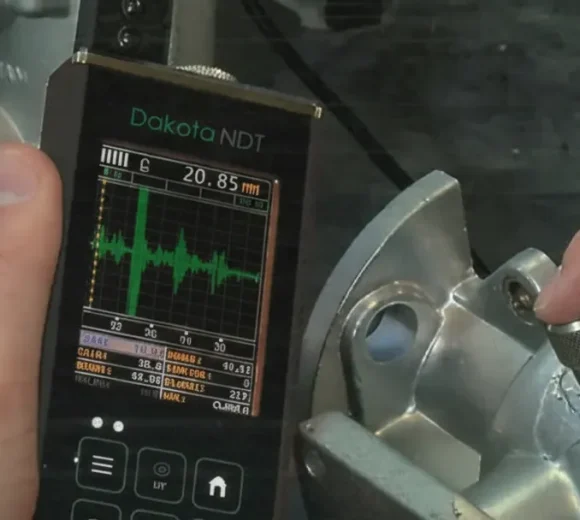
Ultrasonic Thickness Gauging (UTG) is a vital Non-Destructive Testing method used to measure the thickness of a material where access is limited to only one side. This technique is indispensable for corrosion monitoring in critical assets like pipelines, pressure vessels, and storage tanks, ensuring structural integrity and safety.
Hardness Testing
Hardness Testing is a key mechanical evaluation method in materials science, and in many forms, is considered a Non-Destructive Testing (NDT) technique. It measures a material’s resistance to permanent deformation (indentation or scratching) and is highly valuable for verifying heat treatment success and inferring other properties like tensile strength.
While traditional methods like Brinell (large ball indenter, measuring impression area) and Vickers (diamond pyramid indenter, measuring impression area) leave measurable impressions, the resulting effect is often indiscernible on large parts, classifying them as near-NDT.
